Newsletter Articles
Fun Indoor Garden Projects to do With Your Littles
Written by Kara M.
While there’s certainly something to be said about getting outside and working in the dirt, as you feel the wind and sunshine on your skin, not every day allows for outside activity time, even here in Southern California.
That doesn’t mean that gardening fun has to end when you walk back into the house, though. When weather conditions don’t allow for a comfortable outdoor gardening experience, continue the fun and learning indoors with some of these indoor gardening crafts that are perfect opportunities to bond with your children or grandchildren, while continuing to teach them about plants.
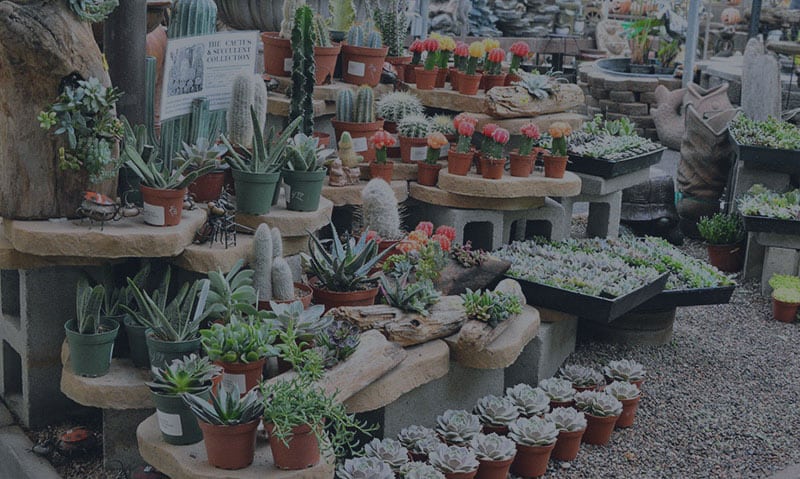
Most utilize household objects, or easy to find items. Some can even be sourced from your own backyard. For those items you don’t have, stop in our store to see how we can help. For added savings, consider signing up for our newsletter here, so you can always see the latest deals.
Now let’s dive into these fun projects!
Painting Pots
This craft works for indoor and outdoor plants alike. All you really need are some terra cotta pots, some acrylic paint, and some paintbrushes. (Plus some newspaper to protect your table or painting surface, and some aprons, to protect clothing. For such little people, kids sure are good at making big messes!)
For an optimal setup, we recommend covering your surface with newspaper or a waterproof tablecloth. Let each child (and adult!) choose a pot they’d like to paint and set aside a plant that is the right size for the pot. If you want to make the experience extra special, consider getting the child a gift card, and taking them to our nursery to pick out a pot and plant for the occasion.
Lay out a variety of paintbrushes with different tips and thicknesses, a cup (or a few cups, depending on how many people are participating,) with soapy water for washing brushes, and a paper towel to wipe off excess paint and water.
For an older child, allow them to use a paper plate like a palette, and choose different paint colors to squirt onto it. For younger children, it may be easier to just offer one color at a time. Once you’re set up, the possibilities are endless. Allow kids to take the lead and create any kind of design they’d like. Or, if they need a jumpstart, suggest a theme, such as writing the name of the plant on the pot, signing it with their name, or creating a pattern.
Once the pots have been painted, allow them to dry for 30-60 minutes minimum, though overnight is ideal. Once they’re totally dry, transfer your selected plants into the pot, and voila! A custom work of plant art!
Pro Tip: For a slightly less messy version of this project, substitute sharpies or paint pens for paint. When choosing a Sharpie to use on terracotta, pick one that is oil-based and water resistant. The same goes for paint pens.
Wax Paper Preservation
This age-old technique is a cool way to display preserved leaves and offers a good opportunity to talk about the anatomy of plants, leaves, and flowers. Plus, the finished product looks really pretty!
The materials needed for this project are minimal and can probably be found in your home. All you need is wax paper, an iron, a safe surface to iron on (either an ironing board, or even a towel placed on a table), and some freshly picked leaves or flowers.
Full disclosure, this one does require a little bit of outside work, but that’s alright! It’s one of the most fun parts of the whole project. The first step is to go outside into your garden and collect leaves or flowers. When choosing, look for relatively thin, flat leaves and flowers, and avoid anything with sharp ridges or thick parts that could rip the wax paper. Be sure to take only one or two pieces from each plant, so as not to damage them.
Once you’ve collected your specimens, bring them inside, and encourage your little one to arrange them on a sheet of wax paper. The littlest artists will probably be content with just placing them randomly, while older children may be interested in making a design or pattern. Whatever they want to do is perfect!
Once the leaves and flowers are arranged, lay another piece of wax paper on top of them, essentially sandwiching them between two pieces of wax paper. This is where the iron comes in. We’d recommend adults only using the iron, unless you’re working with an older and responsible child. Even in that event, they should be under constant supervision.
Set the iron to low (this is important!), and once it’s heated up, run it back and forth across the wax paper. This will cause the wax paper to melt together, trapping the flowers and leaves in the middle. Be sure to iron the entirety of the wax paper, including the edges, so that it won’t separate.
Next Level: If you want to keep working on this, consider giving a younger child markers or stickers to further decorate the wax paper. Older children may want to label the leaves and flowers with a pen, or cut the wax paper to fit into a frame, creating a unique piece of plant art.
DIY Watering Can
This project can be a basic, five-minute craft, or can be elevated to a whole afternoon of crafting and creating. This is all up to you, and how crafty your little Green Thumb is feeling. Let’s go over the basics, and then we’ll delve into the variations.
To complete the most basic version of this project, all you need is a clean, empty, plastic milk jug, and a pair of scissors or sharp-tipped object like a metal skewer. For smaller kids, we’d recommend a pint or half gallon-sized jug, as a full gallon can get pretty heavy when filled with water.
All that needs to happen to create a DIY watering can is an adult should cut or poke various holes in the lid of the jug. Then, fill the jug with water, and voila! Watering can.
That said, this can be expanded in so many fun and creative ways. For toddlers, just experimenting with water can be fun and educational. If you have a water table handy, allow them to fill the jug, and then pour the water out. (If you don’t have a water table, you can also do this in the bathtub… it’s just a little messier!)
For school-aged kids, it’s all about the decorating. There are about a million ways to decorate a plastic jug, from a modified papier mache, to markers, to paint. Since the markers and paint are fairly self-explanatory, let’s talk about the modified papier mache method.
To start, gather different colored pieces of tissue paper, and rip or cut them into small pieces. Next, in a bowl or on a paper plate, mix white glue with just a little bit of water, to make it easier to spread. Then, grab a paintbrush or two.
Dip the paintbrush into the water and glue solution and spread it on the jug. Then, take different pieces of tissue paper and stick them on. Continue until the jug is covered to your satisfaction. Then, to seal it, spread another layer of the glue solution on the top. Allow to dry overnight, and in the morning, you’ll have a colorful and functional homemade watering can.
These three projects are just the tip of the iceberg when it comes to gardening related crafts and activities. What are some of your favorites? Happy crafting, little Green Thumbs!
Do you like what you see? Sign up for our weekly newsletter to get content like this every week!